In the current situation, we all have more than enough time on our hands. All we have to do, is just stay at home and be part of the “flatten the curve movement”.
Being indoors this much isn’t something you might be used to, neither are we as true watersport fans. So what do you do after you’ve maxed out Netflix, watched every YouTube video and visualized every new trick on the water? You prepare your gear!
We’ve got a few household chores, you can do before you’re released of your comfy confinement. Make sure to do these, so your gear is ready when you are finally able to get back on the water!
Rinsing your wetsuits
Still got a wet old wetsuit lying around somewhere in the trunk of your car? Get that thing out of there before there’s mold on it and give it the cleaning service worthy of royalty! This means rinsing out your wetsuit in lukewarm water and hanging this out to dry.
Best is to leave your wetsuit to dry (inside out) in a place that doesn’t get sunlight. As direct exposure from the sun on the inner of your wetsuit can damage the liner of your wetsuit.
.jpg)
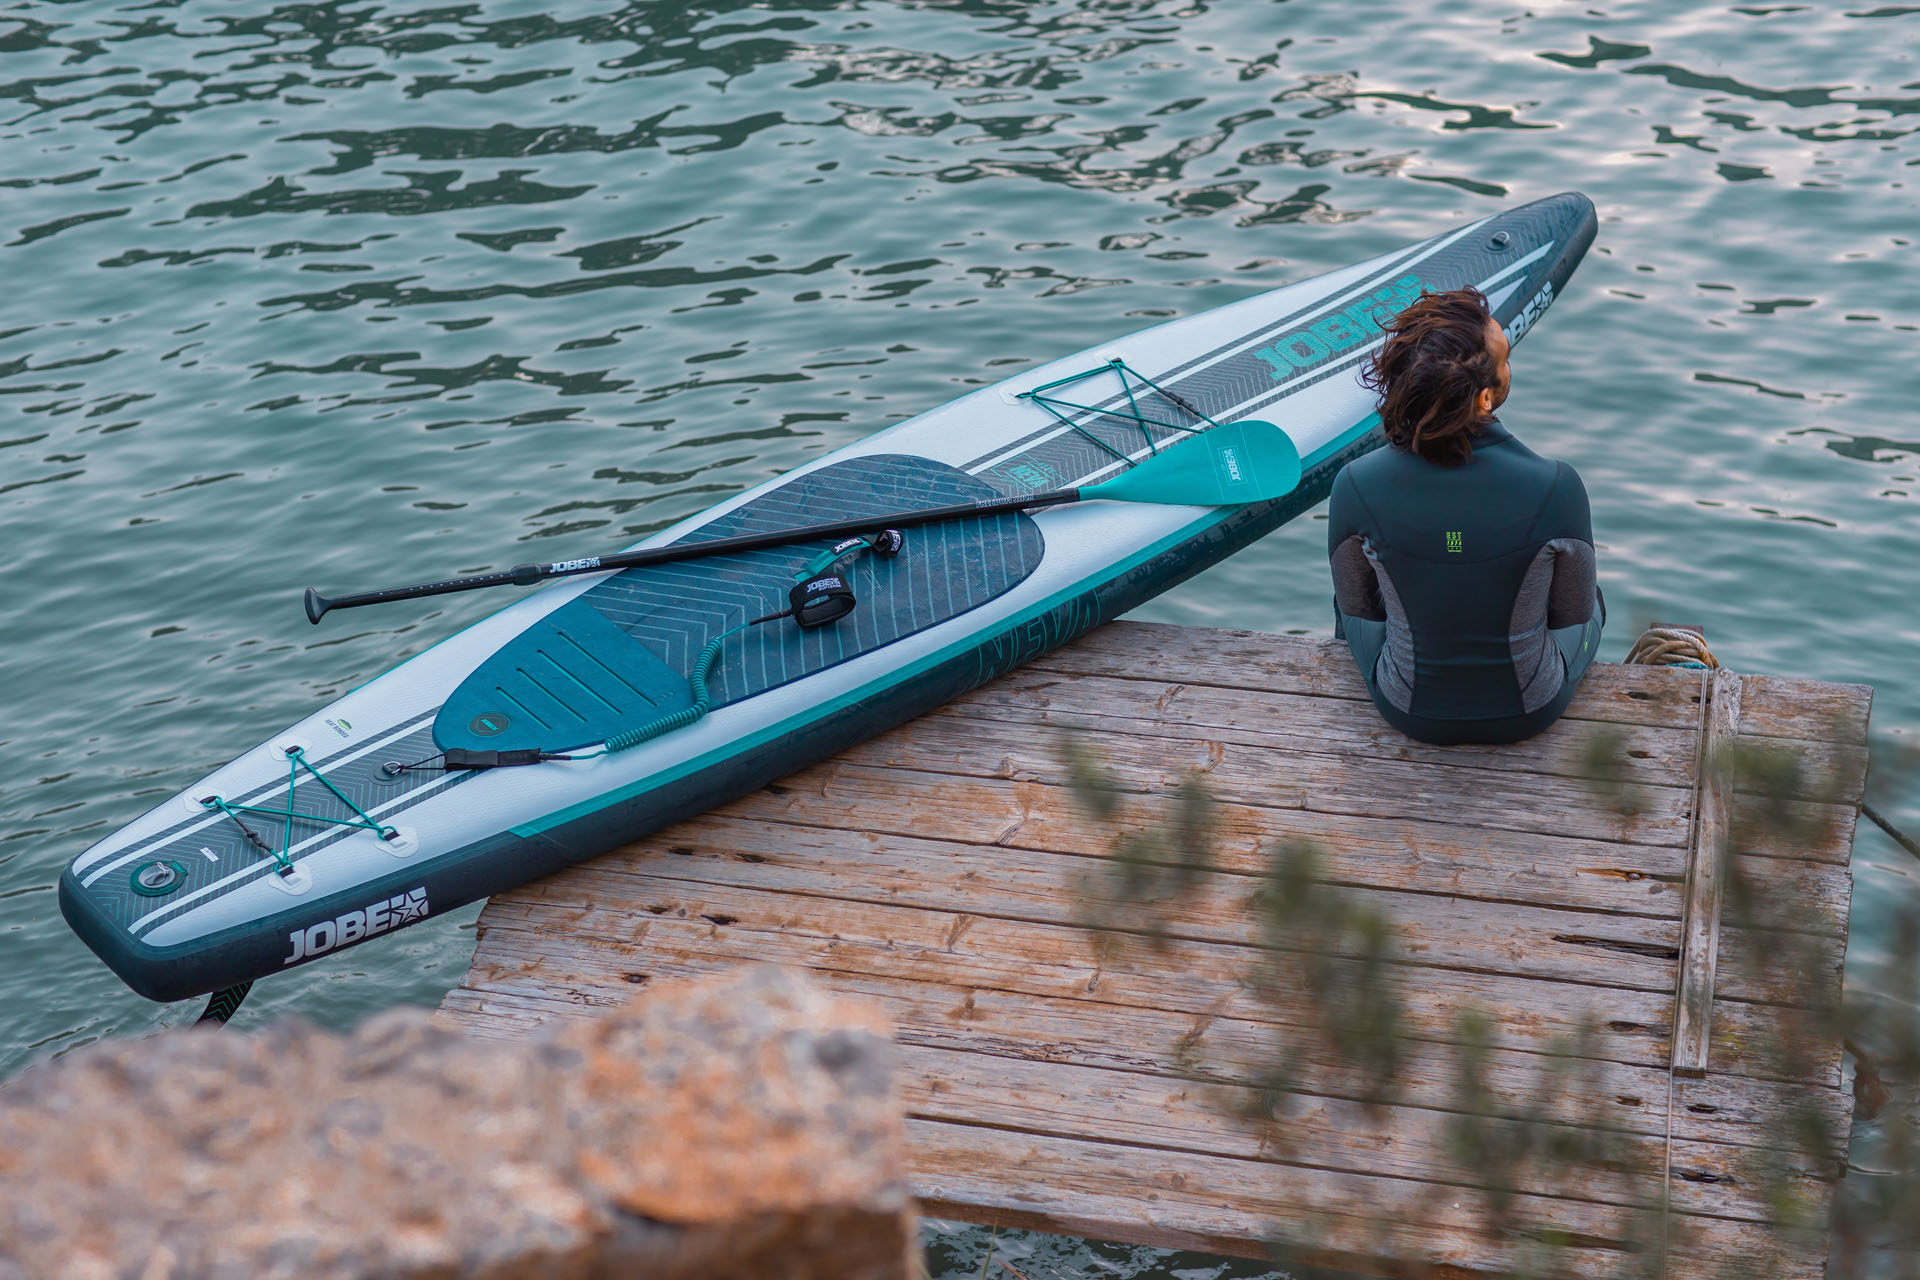
Fixing your wakeboard/hard shell SUP
So last season you might have been a bit careless with you board and got a hole in your board. Be sure to fix this before you go out on the water again, or your board might delaminate! Delamination is the process where the internal structure of your board basically falls apart due to water seeping on the inside. The result is a board which you can throw in the garbage and you don’t want that right?
With big holes in your board, we mean the holes which make the core of your board visible, as this exposes the core and makes it vulnerable. You can use Epoxy or our
Wakeboard repair kit to fix this and a clamp. So how does this work?
Step 1: Clean the surface area of the damaged part and slightly sand it.
Step 2: Use the premixed epoxy for the repair kit and apply this to the damaged area.
Step 3: Use an old cloth/thin cardboard and a piece of wood in combination with a clamp and fixate the damaged area. Let this harden out for 24 hours, to be sure the material is hard.
Step 4: Remove everything and sand this properly to remove all the remains. And your good to go!
You will always see some spots of the damage but at least your board is fixed and ready to go. And it’s a product which is meant to be used, so battle scars are part of deal!
.jpg)
Fixing a puncture in your inflatable SUP or Towable
Inflatable products can have a puncture (it is what it is) but the benefit from this is, that punctures are easy to fix! Plus if a inflatable product is punctured it can’t ruin the inside, something which can happen with hardgoods with a solid structure. This makes inflatable product more durable and if you fix them properly, you can use them for a long period of time.
In the case of a puncture in your favorite inflatable SUP or towable, we’re here to talk you through it (or write you through it in this case). So every inflatable Jobe product comes with a
repair kit, which contains: patches, glue and a key to replace your valve (this last one, you don’t need). Next to the glue and patches, it is good to have the following with you as well: sandpaper, spatula, some tape and preferably an industrial blow-dryer.
In the case of a puncture in a towable: remove the inner from your towable, as this is the part you need to fix.
Step 1: Find the puncture! Pump up your SUP/towable and find the puncture, clean the surface area and place a small piece of tape over this. That way you can easily work with the product inflated without it losing all the air.
Step 2: Cut the patch to the right size of the hole, make sure that it covers the hole fully and don’t be too shy and use to little.
Step 3: Use the rest of the tape to mask the edges around the hole. This way you can place the patch accordingly and centered.
Step 4: Apply the special glue to 1 side of the patch, remove the tape over the puncture and apply the glue here as well. If you have a blow-dryer you can heat up the glue, so it will dry out a bit more and speed up the process. Apply the patch on the puncture and hold it down a bit.
Step 5: Use the spatula to remove air bubbles under the patch, just as you would with a sticker. Put pressure on the patch with your spatula and remove trapped air from under the patch If you have a blow-dryer, continue to keep this on the patch as you remove the air under the patch.
Step 6: remove the masking tape around the patch and smooth out the edges with the spatula.
Best is to leave the product somewhere out of the sun and blown up for a while, that way you can check if you’ve done a proper job. If this is the case, your product is ready for usage again!
 0Carrito